
During one of my most recent events, I needed to connect PureData on my Raspberry Pi up to a physical switch to toggle a Bang event. For those that don’t use Raspberry Pi or PureData that probably sounded like gobbledegook.
The Raspbery pi is:
a series of small single-board computers developed in the United Kingdom by the Raspberry Pi Foundation to promote the teaching of basic computer science in schools and in developing countries.
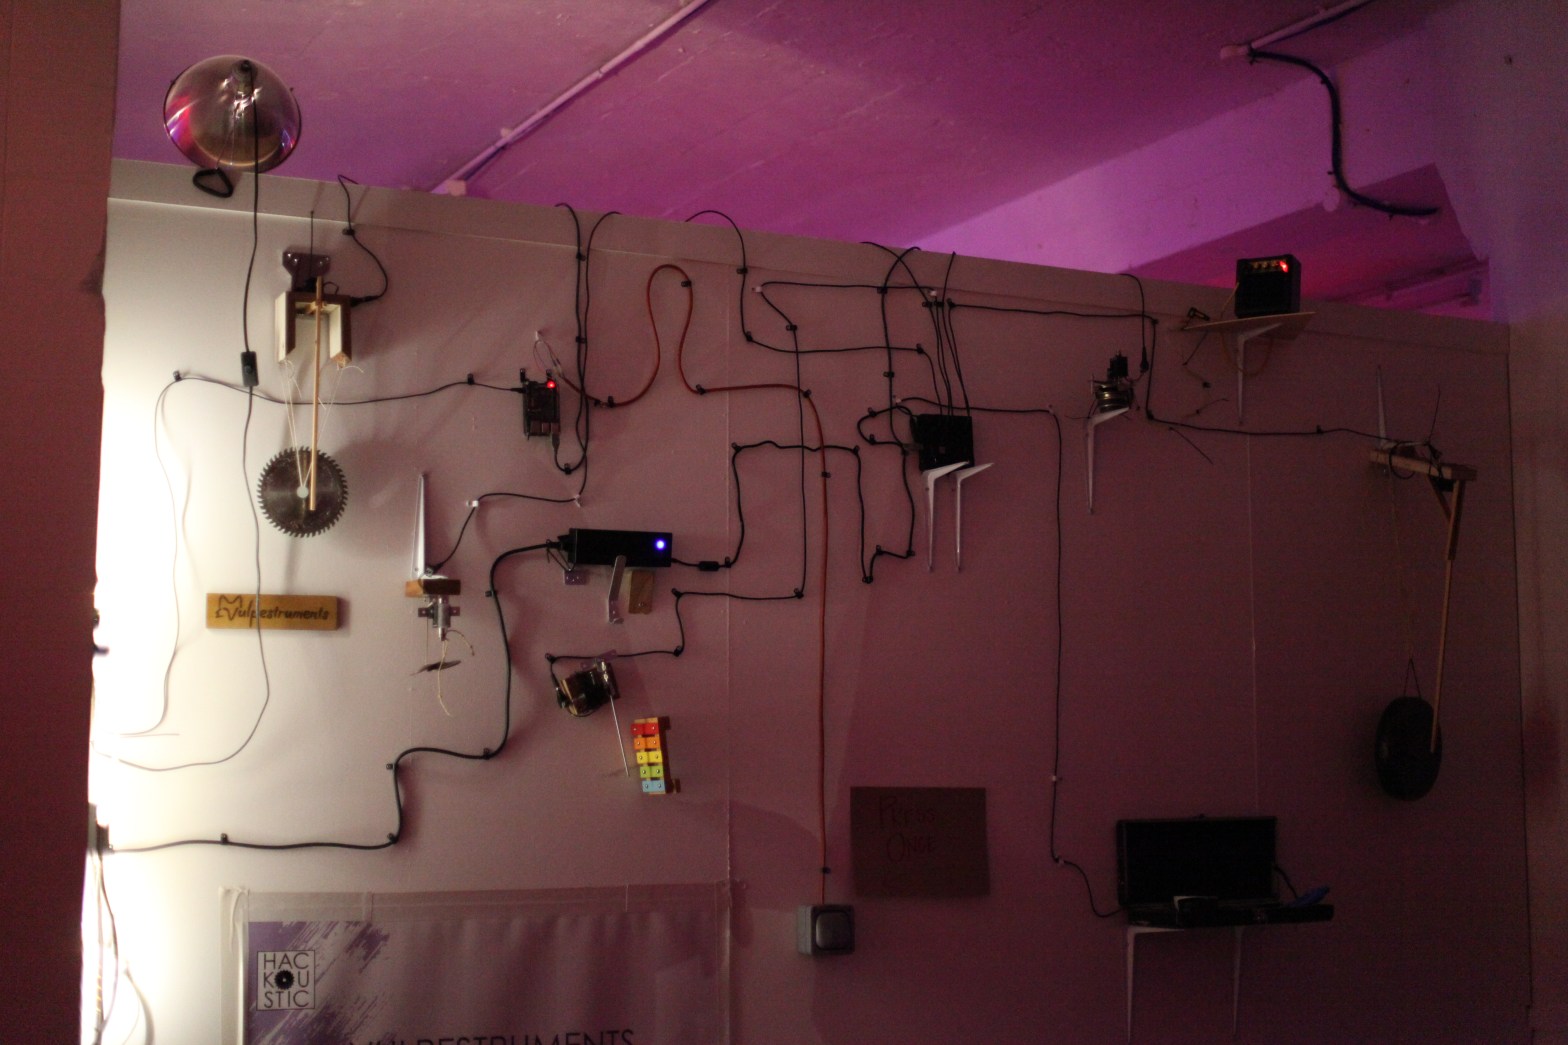
It’s a brilliant and affordable way to control projects and interactive installations and all sorts. It’s the brains behind my Hummingbird installation and I’ve been using it in conjunction with PureData to do a lot of the maths for some projects too.
PureData is:
a visual programming language developed by Miller Puckette in the 1990s for creating interactive computer music and multimedia works.
It’s a really easy way to get into controlling any complex bits of a project you might need and you don’t need to code to do it! It’s all based on visual commands with connecting lines and boxes and whatnot. I’d highly recommend playing around with it, it’s a lot of fun and even with basic knowledge of how it works you can pull off some great ideas. And, what’s great, is that Raspberry Pi is powerful enough to run PureData so you can have it running on a teeny tiny board and massively cut down any bulk to a project that may have otherwise needed computers to function.
SO, I needed a physical switch on my Hummingbird to trigger a simple Bang object in Puredata. There are a few bits online about how to do this, but none of them worked for me and some of the links ended up in dead ends and 404s. So, my work around, was to use another programme called Processing to set up a netsend/netreceive communication within the raspberry pi.
I do not claim to be an expert, and there are probably easier ways and more efficient ways to get this to happen, but for now let me share how I managed it.
In Processing, I had this code running, with a physical switch between GPIO pin 4 and Ground.
import processing.net.*;import processing.io.*;Client myClient;Server myServer;int val = 0;int bang = 0;void setup() {GPIO.pinMode(4, GPIO.INPUT);// Starts a myServer on port 5204myClient = new Client(this, “127.0.0.1”, 5204);}void draw() {// sense the input pinif (GPIO.digitalRead(4) == GPIO.HIGH) {bang = 0;} else {bang = 1;}{myClient.write(bang +”;”);}}
And then, within Puredata, I had a netreceive object for the same Port as listed in the Processing code (5204):
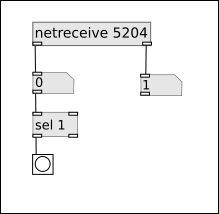
This meant, whenever the switch was closed, the code in Processing read this as HIGH and then sent a number 1 via netsend/netreceive on port 5204 which puredata then used the sel 1 command to trigger a bang!
If you want send send other values i’m sure it’s possible too, the only thing i’d say is it’s important to include the + “;” when you send data as this is what the programmes use to determine when the message has ended.
